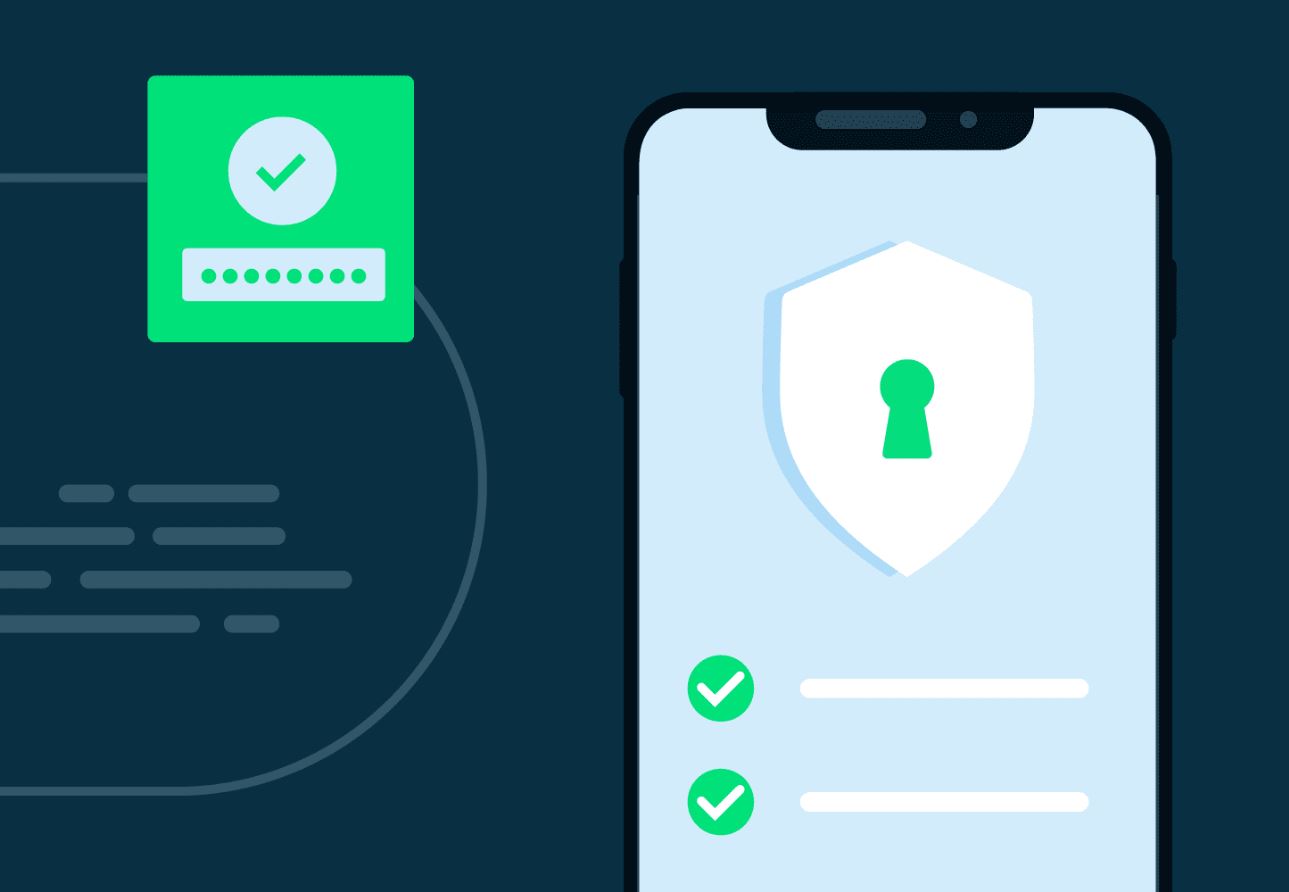
There are several things that you should do before you give your phone away for repair to safeguard your personal data and information. Let’s see how,
Sending your phone to repair to the repair center of your phone’s manufacturer doesn’t guarantee you it’s safety. If you think it’s safe then you are wrong.
Although taking your phone to it’s repair center is much secured option than taking it to those shady repair shops on the streets but those reputed repair centers still have prying individuals who sneak into other people’s privacy so we should be aware of the risk it pertains to repair our phones no matter where it.
But luckily we have certain options that we can follow to keep our data safe and secure while the phone is out for repair.
Your Data Isn’t Safe While It’s Getting Repaired
As per the study of Cornell university which was held in 2022 says that our Android phones are still at risk while we give it to those repair centers. They gave the statement "no privacy in the electronic repair industry". During this research period, researcher’s send around 16 laptops that of windows possessed with dummy data which will spy at the technicians interaction with the devices.
So if we take a look at the research sheets we understand that 6 laptops were breached by the repairing individuals out of 16. Personal files were accessed in those 6 laptops. The worst part is, 2 laptops files were accessed and uploaded in other devices.
Now you see why taking precautionary measures are very important while sending your device out to repair. Even though the company performing it is trusted you still cannot make sure how each individuals are. Most of the people now are so curious to see what other people do in their lives which makes them eager to take a sneak peak into the phone they repair. Who knows if they take a person picture of yours and upload it elsewhere?
So to steer clear from these unwanted issues we can do certain things that can secure your phone by google lock down feature before you send it to repair. This isn’t a tough job to do, so let’s dive in and check how to back up your data first.
Back Up Your Data
If you own a rooted device which is powered then Android have these back up features like titanium backup that will ensure you to give a situation. Other than that if you don’t want any complications then the best option is to go for Google one to backup your device.
If you are already using Google backup services then you might know that you get only 15 GB of storage in the free version and if your storage is full you have to upgrade it to the advanced plan in order to obtain more space. Whether you want to buy more space or not is determined by how much data you are going to backup or your current usage of data including all the other google services that you use. Now let’s see the steps to backup data:
First you have to get the Google one app from the play store if you haven’t installed it already.
Open app once you install it and then click Storage.

Now beside the Device back up you will find a gear icon, select it.
Now you can choose the data that you want to back up by tapping manage backup.
Click backup option now.


This way all your data will be erased completely from your phone as if you just bought it. That is why before you do a factory reset, you should ensure that all your important data are backed up in a safe place. In case if you are not willing to erase all your data entirely because you fear that you might loose something, then follow the bellow steps.
Factory Reset a Broken Phone
Google find my device app is the most convenient way to remotely factory reset your device although there are many other apps available out there. Do you know that find my device option is also accessible through your web browser? Now let’s see how you can access it through your browsed.
Head to your we browser and open find my device.
At the very beginning you will find your phone’s icon, tap into it.
Choose Erase Device.
A disclaimer will be shown on what will happen to you device if you choose to reset your device.
To do it remotely you have to click the option erase device once more.
Recovering mode is not the same in all the devices. There will be slightly different variations in different phones. You can also factory reset your device through recovery mode. This is how you do it:
Switch off your device.
Now press and hold power button and also the volume down button together (please note that in some devices volume up button is used for this purpose).
Keep pressing these two buttons until recovery mode option spears on your screen so that you can navigate the menu.
Now click power button.
Now a "no command" label will pop up while the phone restarts. In certain devices automated the recovery mode is available but in some phones you have to keep in pressing the power and volume button to trigger the recovery mode. If things are complicated in booting don’t hesitate to reach to your phone manufacturer.
So once again you have to trigger the volume button when the recovery mode is on process. From there:
Sending your phone to repair to the repair center of your phone’s manufacturer doesn’t guarantee you it’s safety. If you think it’s safe then you are wrong.
Although taking your phone to it’s repair center is much secured option than taking it to those shady repair shops on the streets but those reputed repair centers still have prying individuals who sneak into other people’s privacy so we should be aware of the risk it pertains to repair our phones no matter where it.
Your Data Isn’t Safe While It’s Getting Repaired
As per the study of Cornell university which was held in 2022 says that our Android phones are still at risk while we give it to those repair centers. They gave the statement "no privacy in the electronic repair industry". During this research period, researcher’s send around 16 laptops that of windows possessed with dummy data which will spy at the technicians interaction with the devices.
So if we take a look at the research sheets we understand that 6 laptops were breached by the repairing individuals out of 16. Personal files were accessed in those 6 laptops. The worst part is, 2 laptops files were accessed and uploaded in other devices.
Now you see why taking precautionary measures are very important while sending your device out to repair. Even though the company performing it is trusted you still cannot make sure how each individuals are. Most of the people now are so curious to see what other people do in their lives which makes them eager to take a sneak peak into the phone they repair. Who knows if they take a person picture of yours and upload it elsewhere?
So to steer clear from these unwanted issues we can do certain things that can secure your phone by google lock down feature before you send it to repair. This isn’t a tough job to do, so let’s dive in and check how to back up your data first.
Back Up Your Data
If you own a rooted device which is powered then Android have these back up features like titanium backup that will ensure you to give a situation. Other than that if you don’t want any complications then the best option is to go for Google one to backup your device.
If you are already using Google backup services then you might know that you get only 15 GB of storage in the free version and if your storage is full you have to upgrade it to the advanced plan in order to obtain more space. Whether you want to buy more space or not is determined by how much data you are going to backup or your current usage of data including all the other google services that you use. Now let’s see the steps to backup data:
First you have to get the Google one app from the play store if you haven’t installed it already.
Open app once you install it and then click Storage.
Now you can choose the data that you want to back up by tapping manage backup.
Click backup option now.
If you have all your photos and videos in your Google photos then your data will be easily backed up but it’s not possible for Google to catch each and everything. Google can backup your video, photos, call logs and even your text messages if you want to.
So if you are giving away your phone to repair and you have very important data in certain apps that you don’t want to delete or you don’t want it exposed then you got to back up the data from each app and then restore it back to your phone once your device is back.
Samsung Maintenance Mode
There’s this feature called Active maintenance mode in your Samsung device which you can made use of before you give your phone to repair. You will then find a maintenance mode icon on your status bar that no one will notice. Doing this would make your device look like has been reset through your factory settings.
If you follow all the steps above then you don’t have to worry about shipping your phone for repair accept if you have a SD card inserted into your device. No technician or anyone can now access your devices data.
Delete eSIM Profile/ Remove the SIM Card
If you fear that someone might exchange your sim, then your sim profile should be eliminated from your device so that they don’t find any clue. How to remove eSIM profile? Let’s take a look.
Go to settings in your device.
Click Network & Internet > SIMs
Now tap the option Delete SIM
That’s it, and if you own a physical SIM inserted to your phone them all you got to do is remove it.
Your phone should be switched off.
On the side of your mobile phone you will find the sim tray, besides the sim tray there will be a small hole. Get a paper clip and insert the end it into the hole.
This will help the sim tray to pop open, now pull the tray.
Next take off the SIM from the tray and push it back inside.
Unmount and Remove the SD Card (if applicable)
So now we are done removing the SIM card from our device and now it’s time to remove your SD card if you have inserted one in your device. As the first step you have to remove the SD card. This should be done by heading to settings > storage > unmount SD card > OK. That’s it! This is how you take off the SD card from your SD card tray. Isn’t that easy to do?
Factory Reset (if possible)
Factory resetting your device is essential if you use other Android device other than Samsung. Doing this is easy but the steps are not the same in all the Android devices, it even different from once Samsung model to another. Let’s see the basic steps.
Go to settings.
Now select reset options.
Click the option called Erase all data (factory reset).
Factory Reset a Broken Phone
Google find my device app is the most convenient way to remotely factory reset your device although there are many other apps available out there. Do you know that find my device option is also accessible through your web browser? Now let’s see how you can access it through your browsed.
Head to your we browser and open find my device.
At the very beginning you will find your phone’s icon, tap into it.
Choose Erase Device.
A disclaimer will be shown on what will happen to you device if you choose to reset your device.
To do it remotely you have to click the option erase device once more.
Recovering mode is not the same in all the devices. There will be slightly different variations in different phones. You can also factory reset your device through recovery mode. This is how you do it:
Switch off your device.
Now press and hold power button and also the volume down button together (please note that in some devices volume up button is used for this purpose).
Keep pressing these two buttons until recovery mode option spears on your screen so that you can navigate the menu.
Now click power button.
Now a "no command" label will pop up while the phone restarts. In certain devices automated the recovery mode is available but in some phones you have to keep in pressing the power and volume button to trigger the recovery mode. If things are complicated in booting don’t hesitate to reach to your phone manufacturer.
So once again you have to trigger the volume button when the recovery mode is on process. From there:
Wipe date/ factory reset should be highlighted.
Now the power button should be clicked.
To reset the phone do the highlight and then click yes option. Once again go to the recovery mode.
Reboot system should be highlighted now and to go back to the normal nature of the reboot, tap the power button.
You are successful done with the factory reset of your phone.
That's it.Who would want an unknown person to have access to their personal information such as photos and videos from their phone? Most importantly our financial apps and information’s are under threat if we give our device for repair. Keep your information’s and private data safeguarded by following the steps above before heading to your repair technician. Let’s be awake before things go haywire.